Overview
In this article, we will review the steps necessary to create a statement batch, or a collection of invoices for a specific community or communities. Statements can then be provided to residents and/or responsible parties for payment.
Steps to Create a Statement Batch
Statement batches must be created, reviewed for accuracy, and then corrected and reprocessed (if necessary). Statements are batched and marked complete once monthly for each community in order to generate resident statements.
Note: For residents to appear in the statement batch, they must have a positive or negative account balance, a valid billing ID, responsible party, payor type, service type, care type, and an assigned level of care. Residents who do not fit these requirements will not have a statement, or invoice, generated.
Step 1: Conduct a Statement Pre-check in accordance with your organizational or community policies.
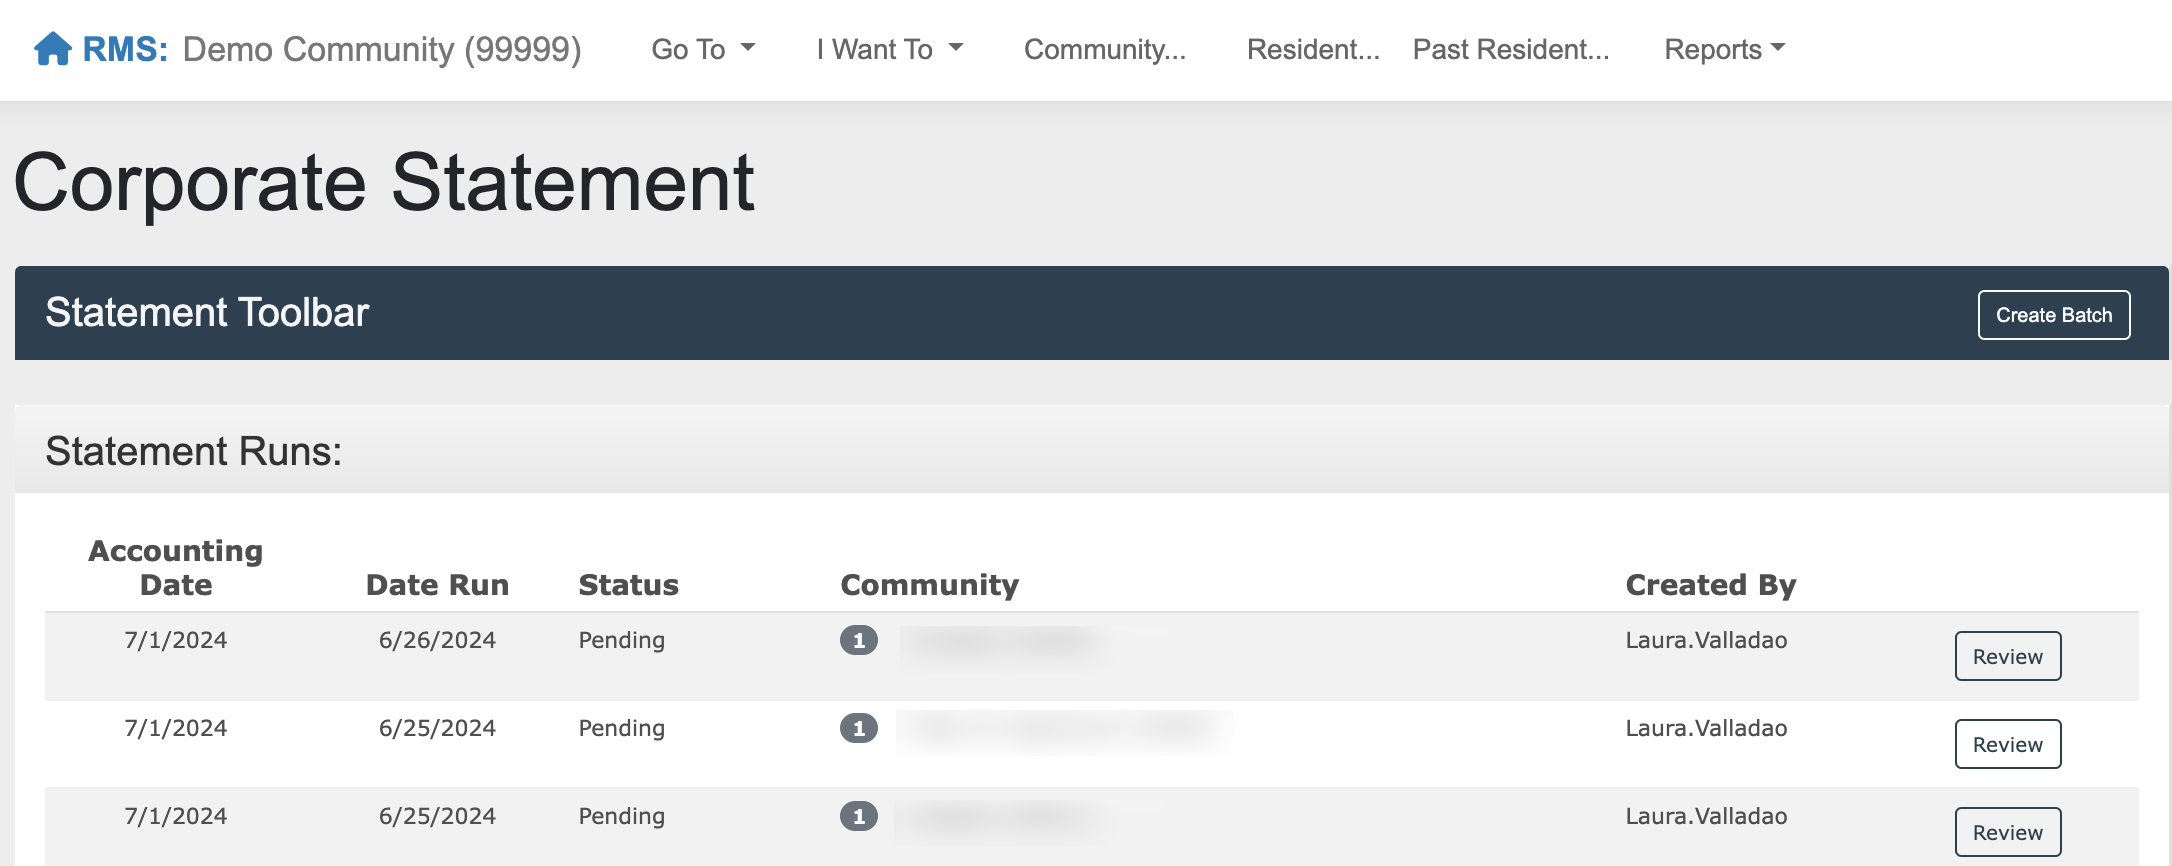
Step 2: Navigate to the Corporate Statement tool in the Aline Revenue application by selecting the Quick Actions Menu and then selecting Corporate Statement OR by selecting the Waffle Menu, selecting the Statements and Billing, and then selecting Corporate Statements.

Step 3: Select "Create Batch" to start a new statement run.

Step 4: Enter the desired Statement Date (Month to run the Statements for) and then select the community or communities to include in the statement batch. Users can also select "Select All" to select all communities they have access to.
Note: Statements that have already been ran for a particular community will not be selectable. Those community's check boxes will be colored blue. Additionally, users will only be able to generate a statement for communities that they have access to.
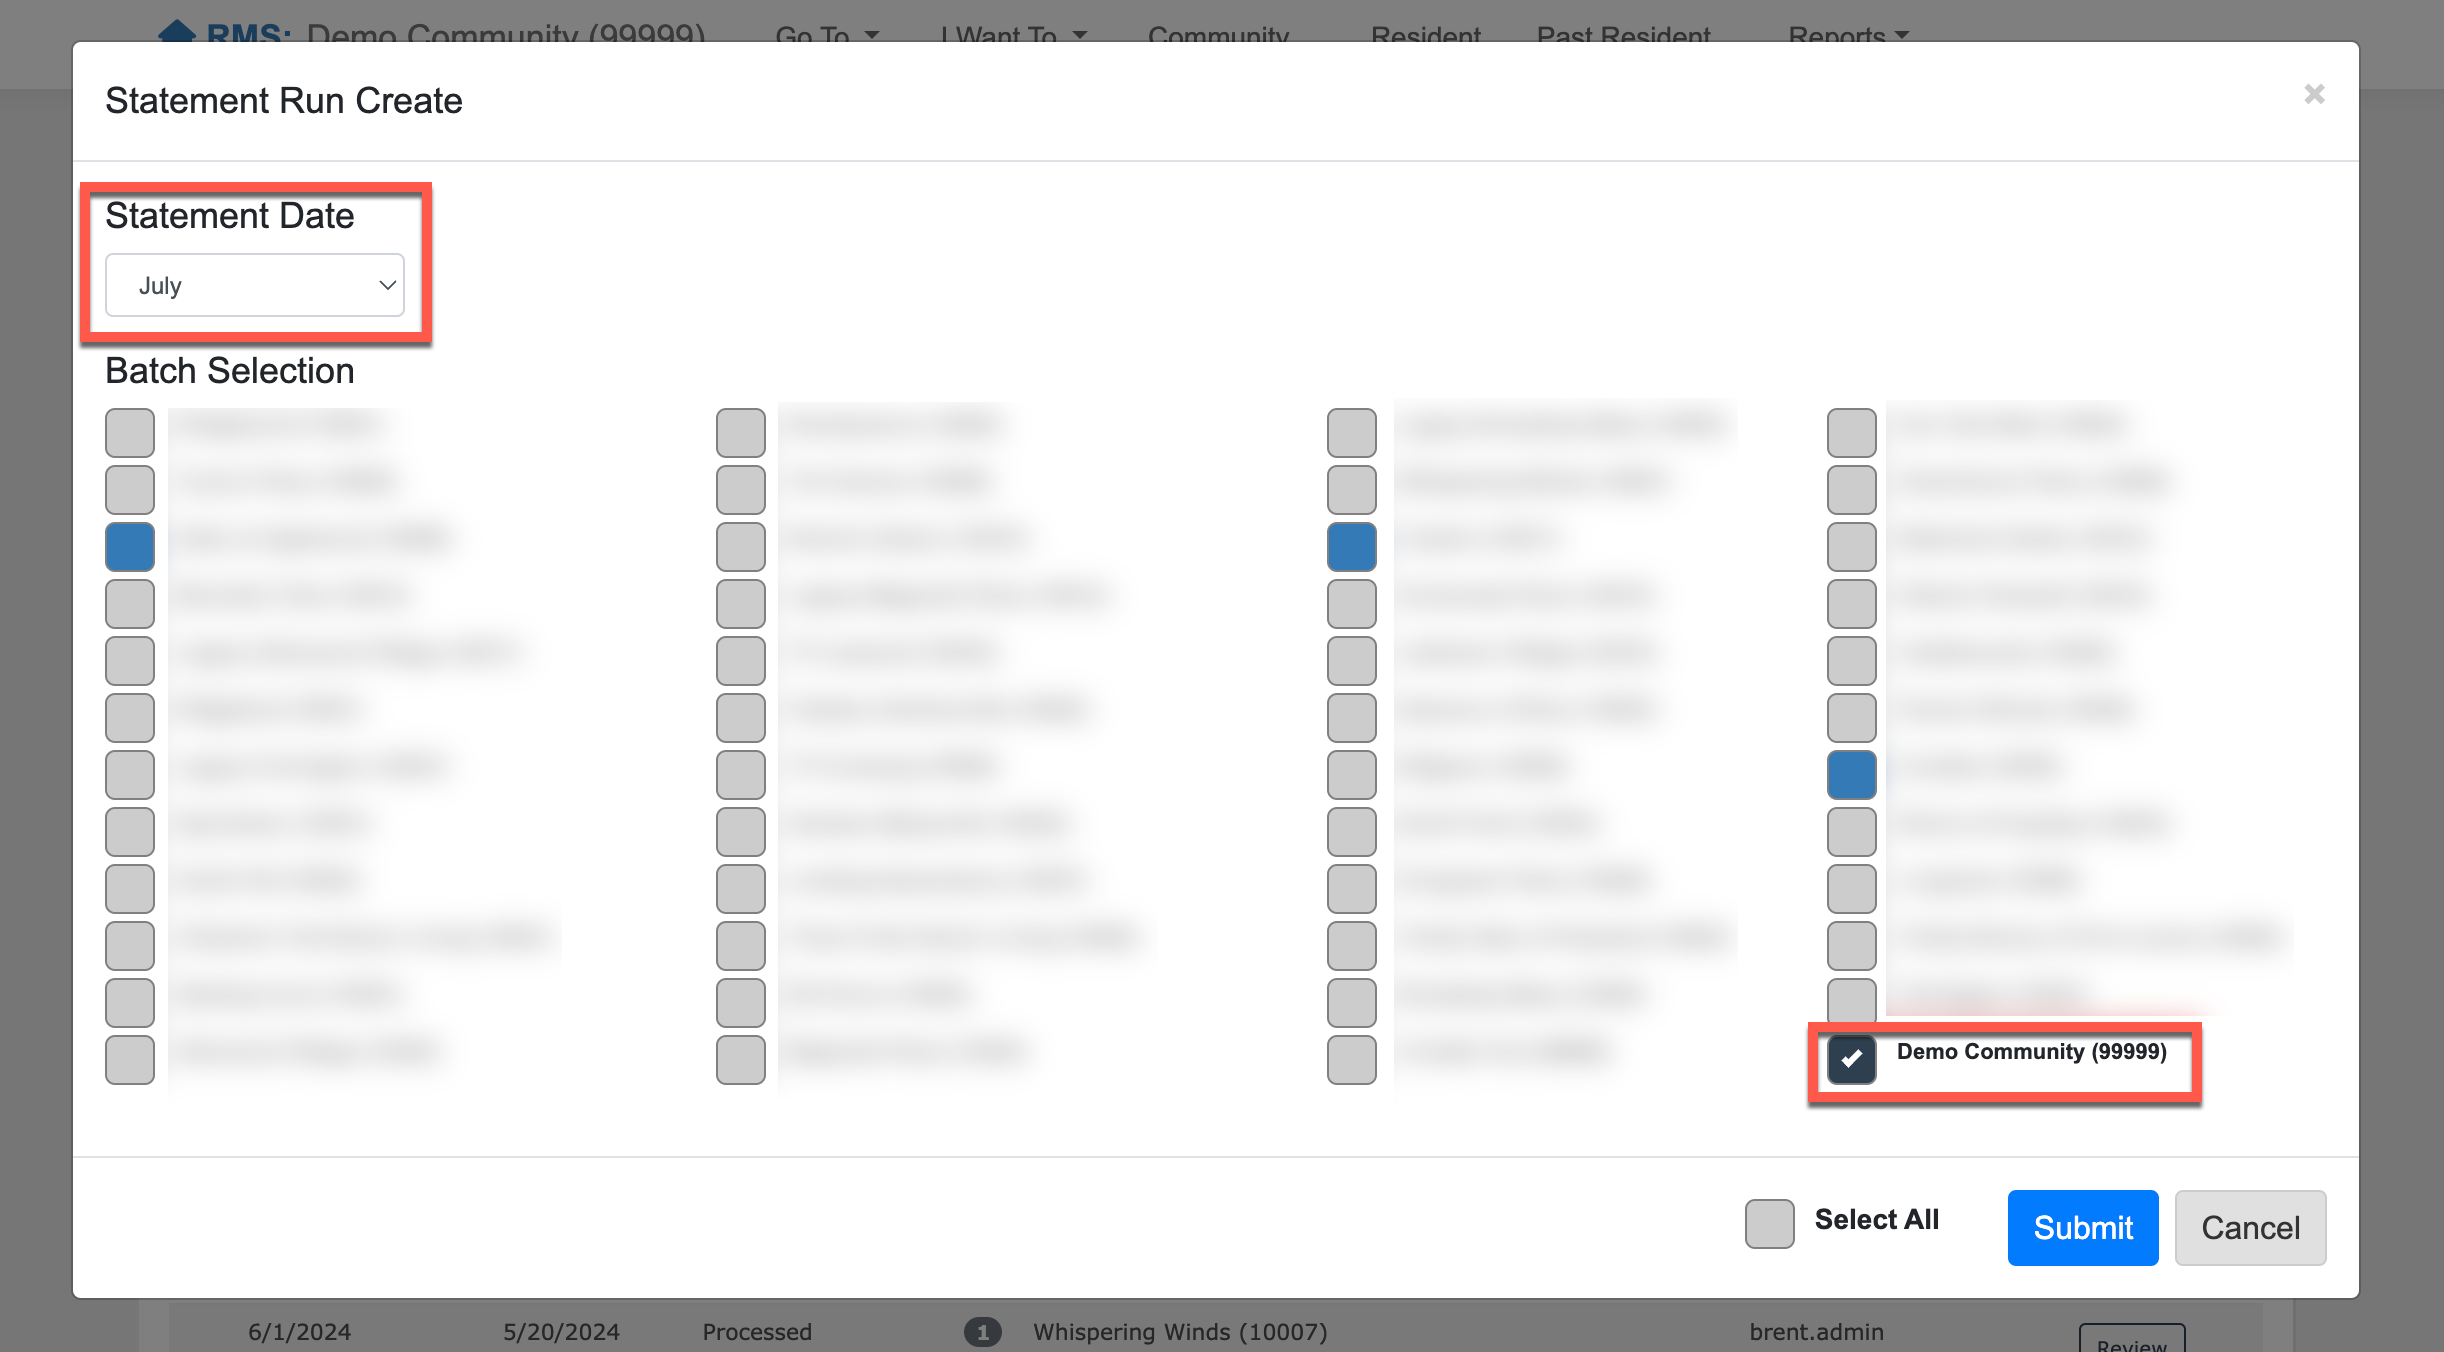
Step 5: Select "Submit".

Step 6: A statement, or invoice, will then be generated for each resident included in the batch. These statements will include any monthly or one-time charges, credits issued, and revenue adjustments issued for the billed month.
The statements can be viewed by each individual resident or by the community as a whole. The statements should always be reviewed by the community for accuracy.
Step 7: Select "Review" to open the statement batch.

Step 8: Select the down arrow next to the community name to view each individual resident statements.

Step 9:
- Select "Go to Dashboard" to return to the main Corporate Statement page.
- Select "Mark Batch Complete" to close out the statement batch after the review has been completed.
- Select "Delete Batch" if the statement batch needs to be deleted and re-ran.
- Select "View Community Statement" to view all statements generated for the community in one document.
- Select "Download Zip File" to download a zipped file for all statements.
- Select "View Resident Statement" to view a single resident's statement.
Step 10: Prior to marking the statement batch as complete, it is vital that each resident's statement is reviewed for accuracy. Select "View Resident Statement" to review the statement details in accordance with your organizational or community policies.

Step 11: After the review process has been completed and the necessary changes have been implemented on the resident profiles (such as care level changes, other billing items, revenue adjustments, etc.), select "Reprocess Community" to incorporate all recent changes into the current statement batch.

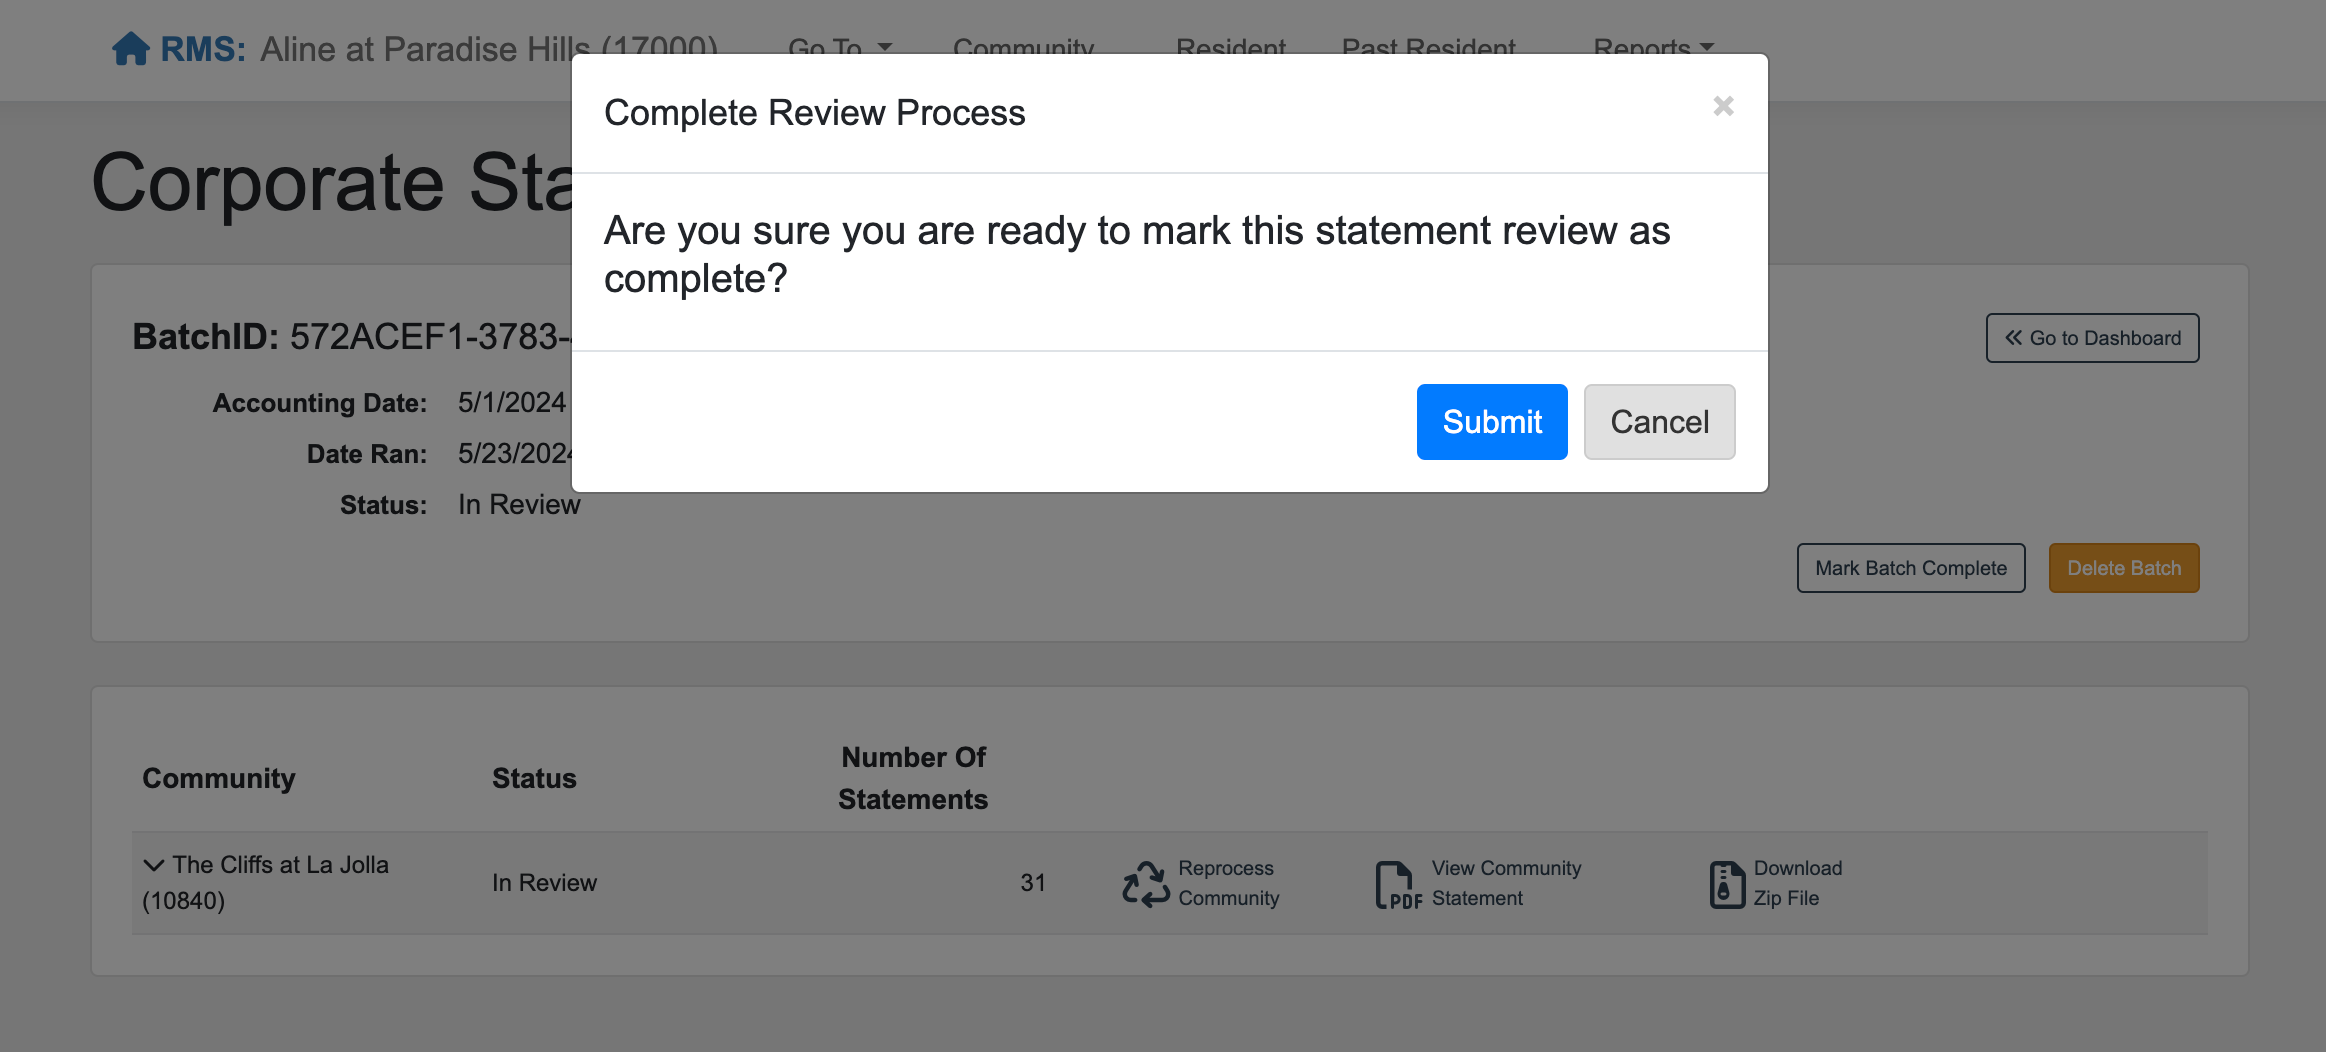
Step 12: After reprocessing the statement batch, select "Mark Batch Complete" to finalize the statements.

Step 13: Select "Submit" to confirm the statement finalization.
Step 14: Resident statements are now in their final form and are ready for dispersal to residents and responsible parties. The statement batch Status will now display as Processed.

Was this article helpful?
That’s Great!
Thank you for your feedback
Sorry! We couldn't be helpful
Thank you for your feedback
Feedback sent
We appreciate your effort and will try to fix the article