Overview
In this article, we will review how to schedule a move out.
Schedule a Move Out
Step 1: Select the appropriate community.
Step 2: Click the Community tab at the top of the Resident Management homepage.

Step 3: Use the Please Select a Community window to find the appropriate community.

Step 4: Once on the Community page, click the Resident tab.

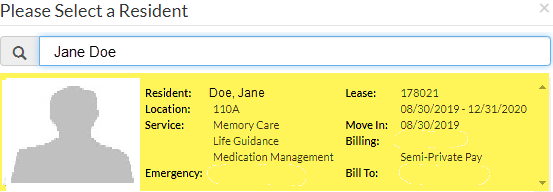
Step 5: In the Please Select a Resident window, search for and select a resident. Search by Name, Resident ID #, Room #.

Step 6: Click the picture of the resident to be directed to their Lease Management page.
Step 7: On the resident’s Lease Management page, scroll down to the Resident Activity section of the page.
Step 8: Click the Task List menu, then select Move a Resident Out.

Step 9: On the Move Out page, provide the Notice Date, Bill to Date, Discharge Reason, Location, and Note.
Step 10: To finalize the move out, click Submit.

Was this article helpful?
That’s Great!
Thank you for your feedback
Sorry! We couldn't be helpful
Thank you for your feedback
Feedback sent
We appreciate your effort and will try to fix the article